Friday, April 14, 2017

Google AdMob Integration

           AdMob is a multi-platform mobile ad network that integrating  to your app and allows you to monetize your app and earn on the basis of Impressions and clicks on ads in your app.


          There are two types of AdMob ads: Banner and  Interstitial. Banner ad is the one which occupies the portion of your screen which you can define in your code. Interstitial ad is the one which occupies devices full screen. If you want to go to device UI you have a cancel button to disappeare Interstitial ad.

1. Get Admob banner ad unit id from Google AdMob

2. Create new Android Application

3.  To integrate Google AdMob, use Google AdMob SDK in build.gradle
            compile ‘com.google.android.gms:play-services-ads:8.4.0’

4. Open Android.Manifest file and give permission for INTERNET and ACCESS_NETWORK_STATE
     <uses-permission android:name="android.permission.INTERNET" />
<uses-permission android:name="android.permission.ACCESS_NETWORK_STATE" />

   Add google play services version details in META-DATA
   <meta-data
            android:name="com.google.android.gms.version"
            android:value="@integer/google_play_services_version" />

   Add the AdActivity adding configChanges and theme attributes.
<activity
            android:name="com.google.android.gms.ads.AdActivity"
            android:configChanges="keyboard|keyboardHidden|orientation|screenLayout|uiMode|screenSize|smallestScreenSize"
            android:theme="@android:style/Theme.Translucent" />

5. Add code for Banner to Your layout file
<com.google.android.gms.ads.AdView
        android:id="@+id/adView"
        android:layout_width="wrap_content"
        android:layout_height="wrap_content"
        ads:adSize="BANNER"
        ads:adUnitId="@string/banner ad unit id">
  <com.google.android.gms.ads.AdView/>

6. Open Java file and Create AdRequest to display ads.
private AdView mAdView;
 mAdView = (AdView) findViewById(R.id.adView);
        AdRequest adRequest = new AdRequest.Builder()
                .build();
        mAdView.loadAd(adRequest);

7. Add code for Interstitial Ads

// create private variable
private InterstitialAd mInterstitialAd;

// initialize variable
mInterstitialAd = newInterstitialAd(); loadInterstitial();

 // on button click call function to show ad
     showInterstitial();
 // initialize and load ad functions
     private InterstitialAd newInterstitialAd() {
         InterstitialAd interstitialAd = new InterstitialAd(this);
         interstitialAd.setAdUnitId(getString(R.string.interstitial_ad_unit_id));
         interstitialAd.setAdListener(new AdListener() {
               @Override               public void onAdLoaded() {
                  btnshow.setEnabled(true);
               }

               @Override               public void onAdFailedToLoad(int errorCode) {
                  btnshow.setEnabled(true);
               }

               @Override               public void onAdClosed() {

               }
         });
         return interstitialAd;
     }

      private void showInterstitial() {
        // Show the ad if it's ready. Otherwise toast and reload the ad.          if (mInterstitialAd != null && mInterstitialAd.isLoaded()) {
               mInterstitialAd.show();
        } else {
               Toast.makeText(this, "Ad did not load", Toast.LENGTH_SHORT).show();
        }
     }

      private void loadInterstitial() {
       // Disable the next level button and load the ad.          btnshow.setEnabled(false);
        AdRequest adRequest = new AdRequest.Builder()
            .setRequestAgent("android_studio:ad_template").build();
        mInterstitialAd.loadAd(adRequest);
    }
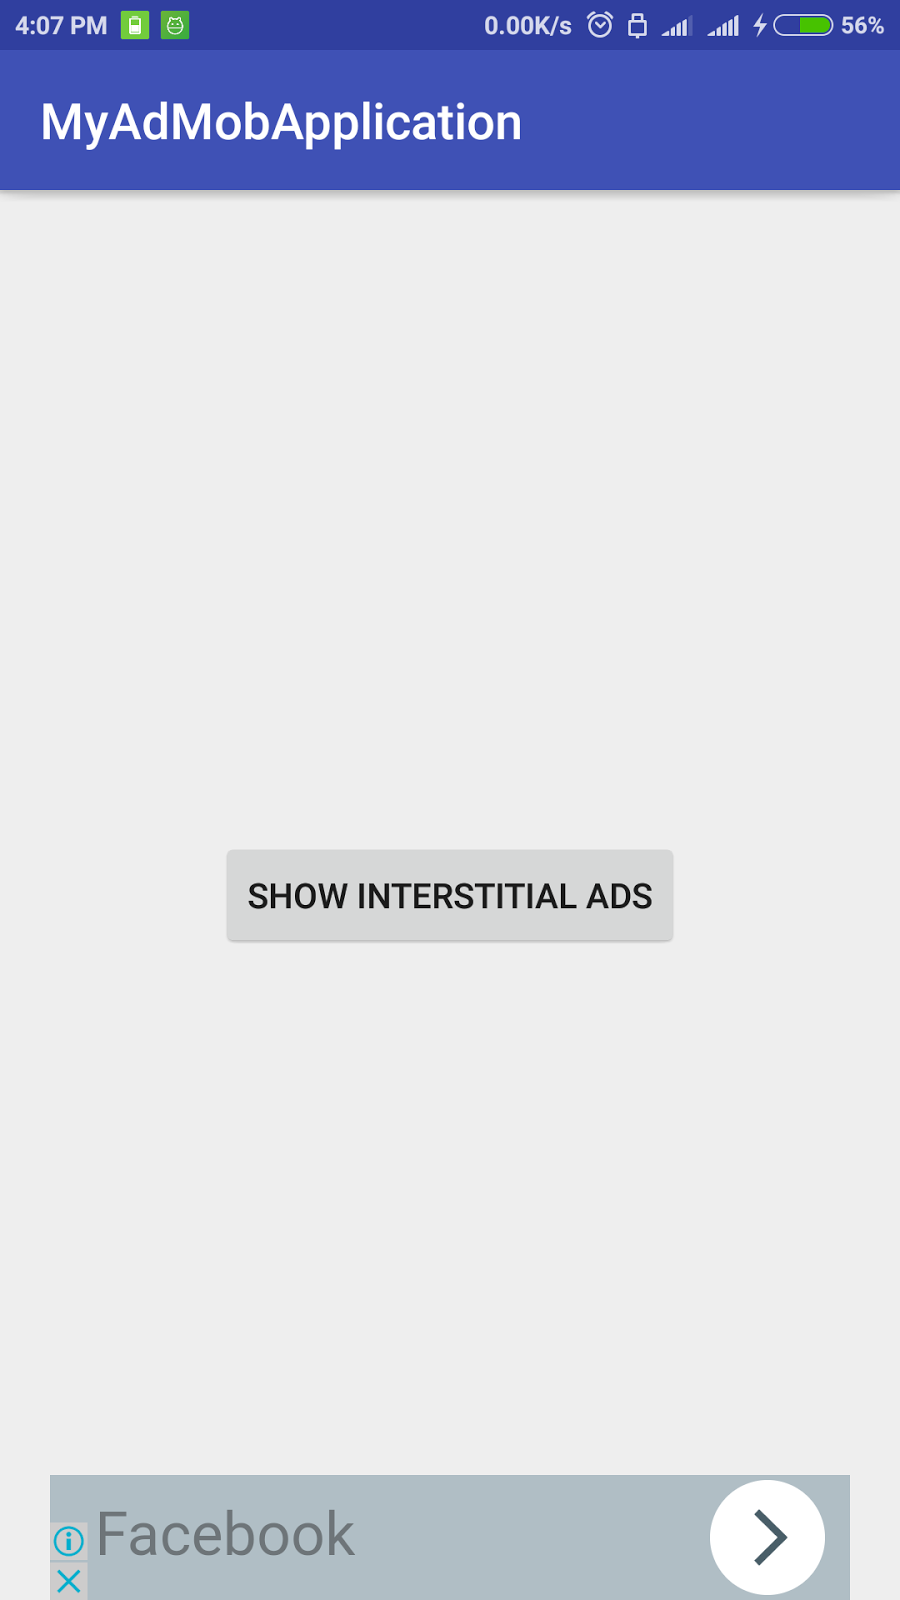
 8. Rebuild your project and Run your application  


Thursday, March 30, 2017

How to get SHA-1 fingerprint Certificate

Generating SHA-1 fingerprint Certificate

1. Open Android Studio

2. Open Your Project.

3. Click 'Gradle' (Right Side Top Panel, you can see Gradle Bar)

4. Click 'Refresh' button(you can find it on top panel) which contains list of all your gradle scripts of your project.

5. Select Your Project with named (root).

6. Click Tasks---> Click Android ---> Double Click Signing Report


7. Click Gradle Console(Right Side Bottom Panel) where you can find your SHA-1 and MD5 fingerprint certificate.


If you find any query or any difficulties related this blog, you can post your comment, so i can be useful to my site visitors.

Wednesday, March 29, 2017

Getting API key for Google Maps

Create API Key for Google Maps

1. Go to Google API Console (https://console.developers.google.com/).

2. If you have opened your google API Console, then a new project named "My Project" is created automatically.


3. Select Your project, then Click 'Continue' to enable Google Maps Android API.


4. On Credentials Section, get an API Key. If you have existing API with restriction then you can use that.


5. To restrict your API Key, click 'Edit' button, then follow instructions.
   - Select Key Restrictions: 'Android apps'
   - Restrict usage to your Android apps (This is an optional if you want restrict your API Key to particular Android App)
   - Enter package name (Enter your package name of your app)
   - Enter SHA-1 certificate fingerprint.


6. Click Save.

7. You can use your API Key to your android app.

Tuesday, March 21, 2017

How To Fix Google AdMob Error

Google AdMob  ad error: failed to load


If You have seen error like this and code is as shown below:

// Define add below as banner
AdView mAdView = new AdView(SplashActivity.this);
mAdView.setAdUnitId(getResources().getString(‘YOUR AD UNIT ID’));
mAdView.setAdSize(AdSize.
BANNER);
RelativeLayout layout = (RelativeLayout) findViewById(R.id.
splash_layout);
RelativeLayout.LayoutParams params =
new RelativeLayout.LayoutParams(
        RelativeLayout.LayoutParams.
MATCH_PARENT,
        RelativeLayout.LayoutParams.
WRAP_CONTENT);
layout.addView(mAdView, params);
mAdView.loadAd(
new AdRequest.Builder().build());


If there is no mistakes found in your code then you should not worry.

If you have created your AdMob account recently then you should wait for 1 or 2 days. After 1 or 2 days, Your ad will works fine.


Important Notice: If you are new to AdMob then Please remember that do not click on ads while testing. If you are doing your AdMob Account will be deleted.

Friday, March 17, 2017

Create your First Android Application 'Hello World'

1. Create New Android Application.


           Select File --> New--> New Project


2. Configure your project.


      Here you can configure your project name, project location, then click Next button


3.  Set Minimum SDK    


4. Select Activity


5 Modify Layout File


Your layout file should be like this:

<?xml version="1.0" encoding="utf-8"?>
<RelativeLayout xmlns:android="http://schemas.android.com/apk/res/android"
                xmlns:tools="http://schemas.android.com/tools"
                android:layout_width="match_parent"
                android:layout_height="match_parent"
                android:paddingBottom="@dimen/activity_vertical_margin"    
                android:paddingLeft="@dimen/activity_horizontal_margin"    
                android:paddingRight="@dimen/activity_horizontal_margin"
                android:paddingTop="@dimen/activity_vertical_margin"
                tools:context="com.donix.helloworldapp.MainActivity">
    <TextView  android:layout_width="wrap_content" 
               android:layout_height="wrap_content"
               android:text="Hello World!" />
</RelativeLayout>


6. Modify Activity Java File.


Your java file should be like this:
public class MainActivity extends AppCompatActivity {

    @Override    protected void onCreate(Bundle savedInstanceState) {
        super.onCreate(savedInstanceState);

// Mention your layout file where textview is defined 
        setContentView(R.layout.activity_main);
        Toast.makeText(this,"Hello World",Toast.LENGTH_LONG).show();

    }

}

7. Running Your Application.


To Run your Application,First start AVD/Emulator or Connect your phone to pc, then Click on Run 
button